Challenge? Add texture, color and functionality to an uninspiring blank wall.
Solution? A cork board!? I bought a plain cork board with intentions of covering it with batting and fabric and using ribbon to hold pictures, notes, etc.
Not wanting to make the traditional boars with criss cross ribbon I did some experimenting.
An art teacher once told me that you should avoid your first instinct when designing, drawing and/or creating. With that always in the back of my mind, I try to play around with my material (literally material in this case) and see what I can come up with.
After some trial and error and removing staples with pliers from failed attempts, I came up with this.

I wraped folded pieces of fabric across the board lengthwise and stapled it to the back. I used very small scrapbooking brads to hold some of the fabric down and create divisions. They are hard to see in the photos and not very functional.
I'm going to try decorative upholstery nails and maybe add some ribbon.

First, I covered the board with batting. I stapled the fabric to the board and not the frame as shown here. It was much easier that way.


To create a neat corner, I first folded the corner into the middle and stapled. Then I folded each side in, pulling tightly to create a smooth edge with two neat folds.

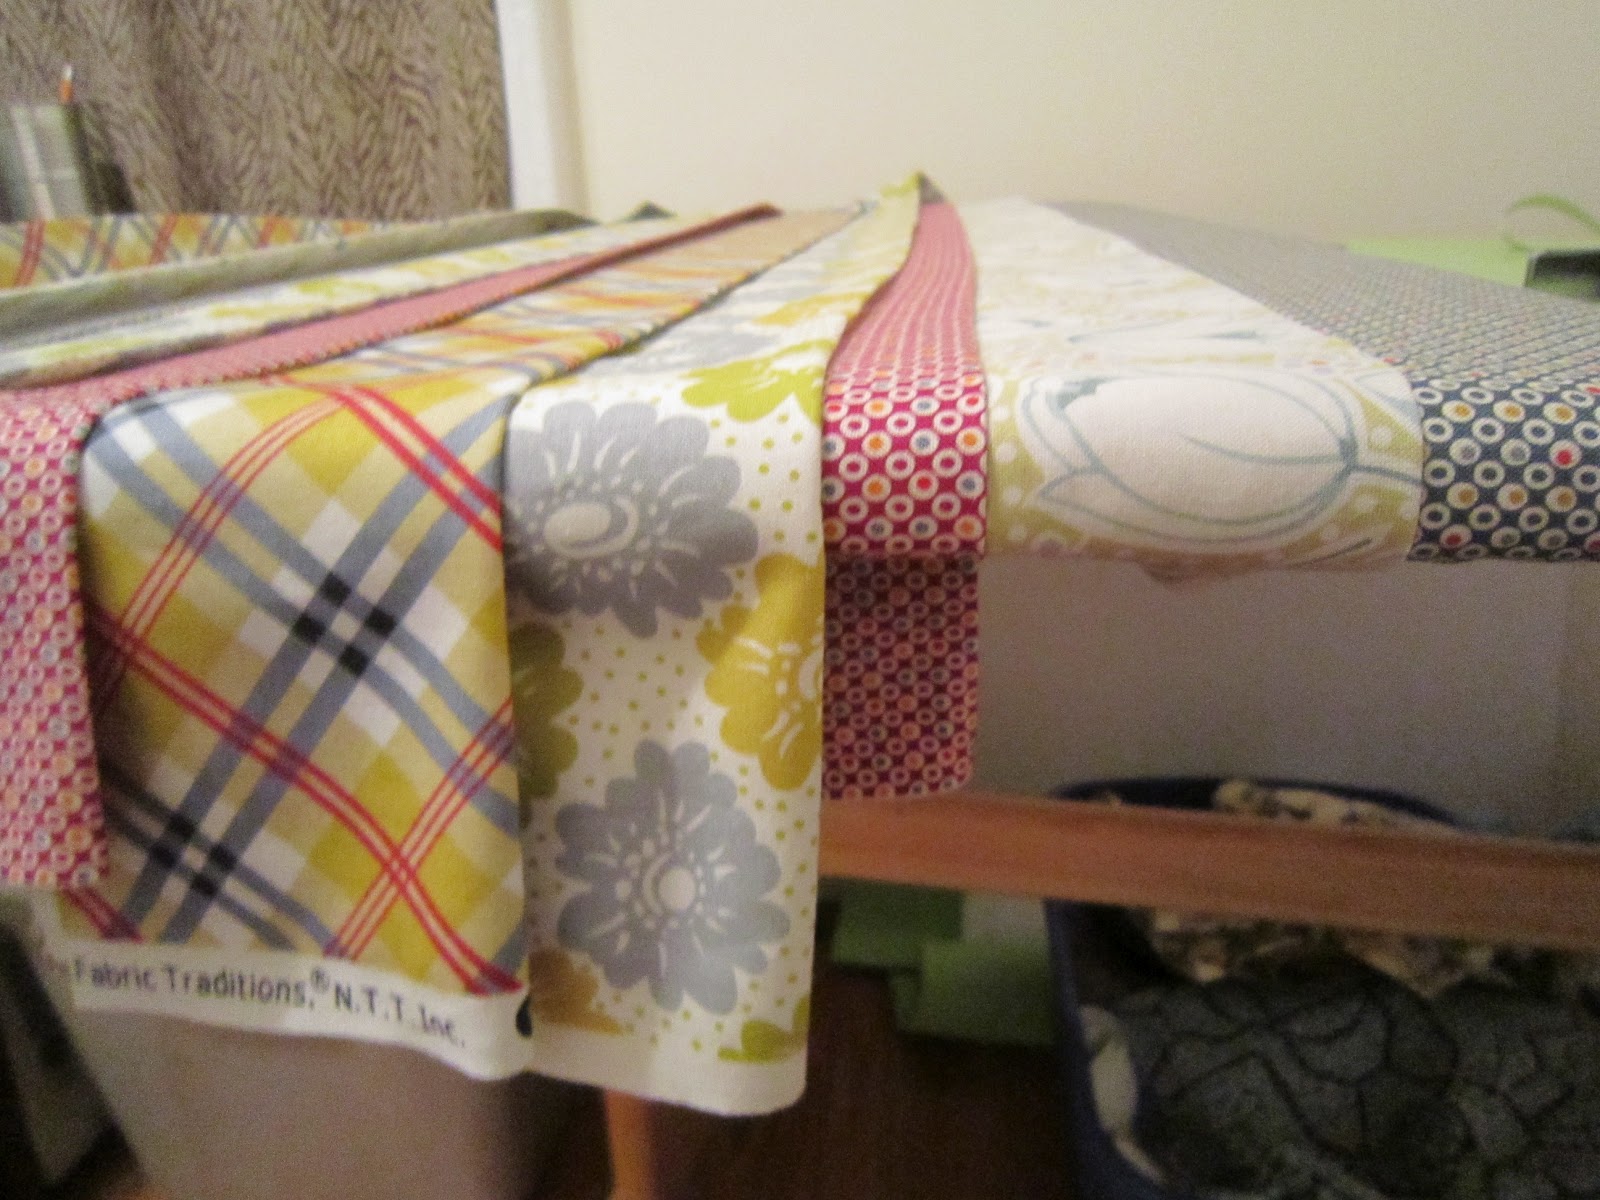
Keeping my fabric folded in half, selvage to selvage, I cut multiple strips. I started with 6 fabrics and cut two pieces of each. I only ended up using 5 different fabrics but it's good to have more than you need.
I cut various widths, so the finished layers would not be uniform. I cut all the strips 5 or 6 inches wide or more. Whatever size you choose, your finished strip will be half that size.
Scissors would work just as well, but I love my rotary cutter.

Open the fabric and iron it flat.

Then fold the fabric in half and press to make a long skinny strip.
Continue until you have a enough strips to cover the board.

Layer and staple each layer down.
Staple the ends to the back, tightly.

Pleat the corner.

Add more staples for security and trim up the back.
There you have it.

I finally finished it.
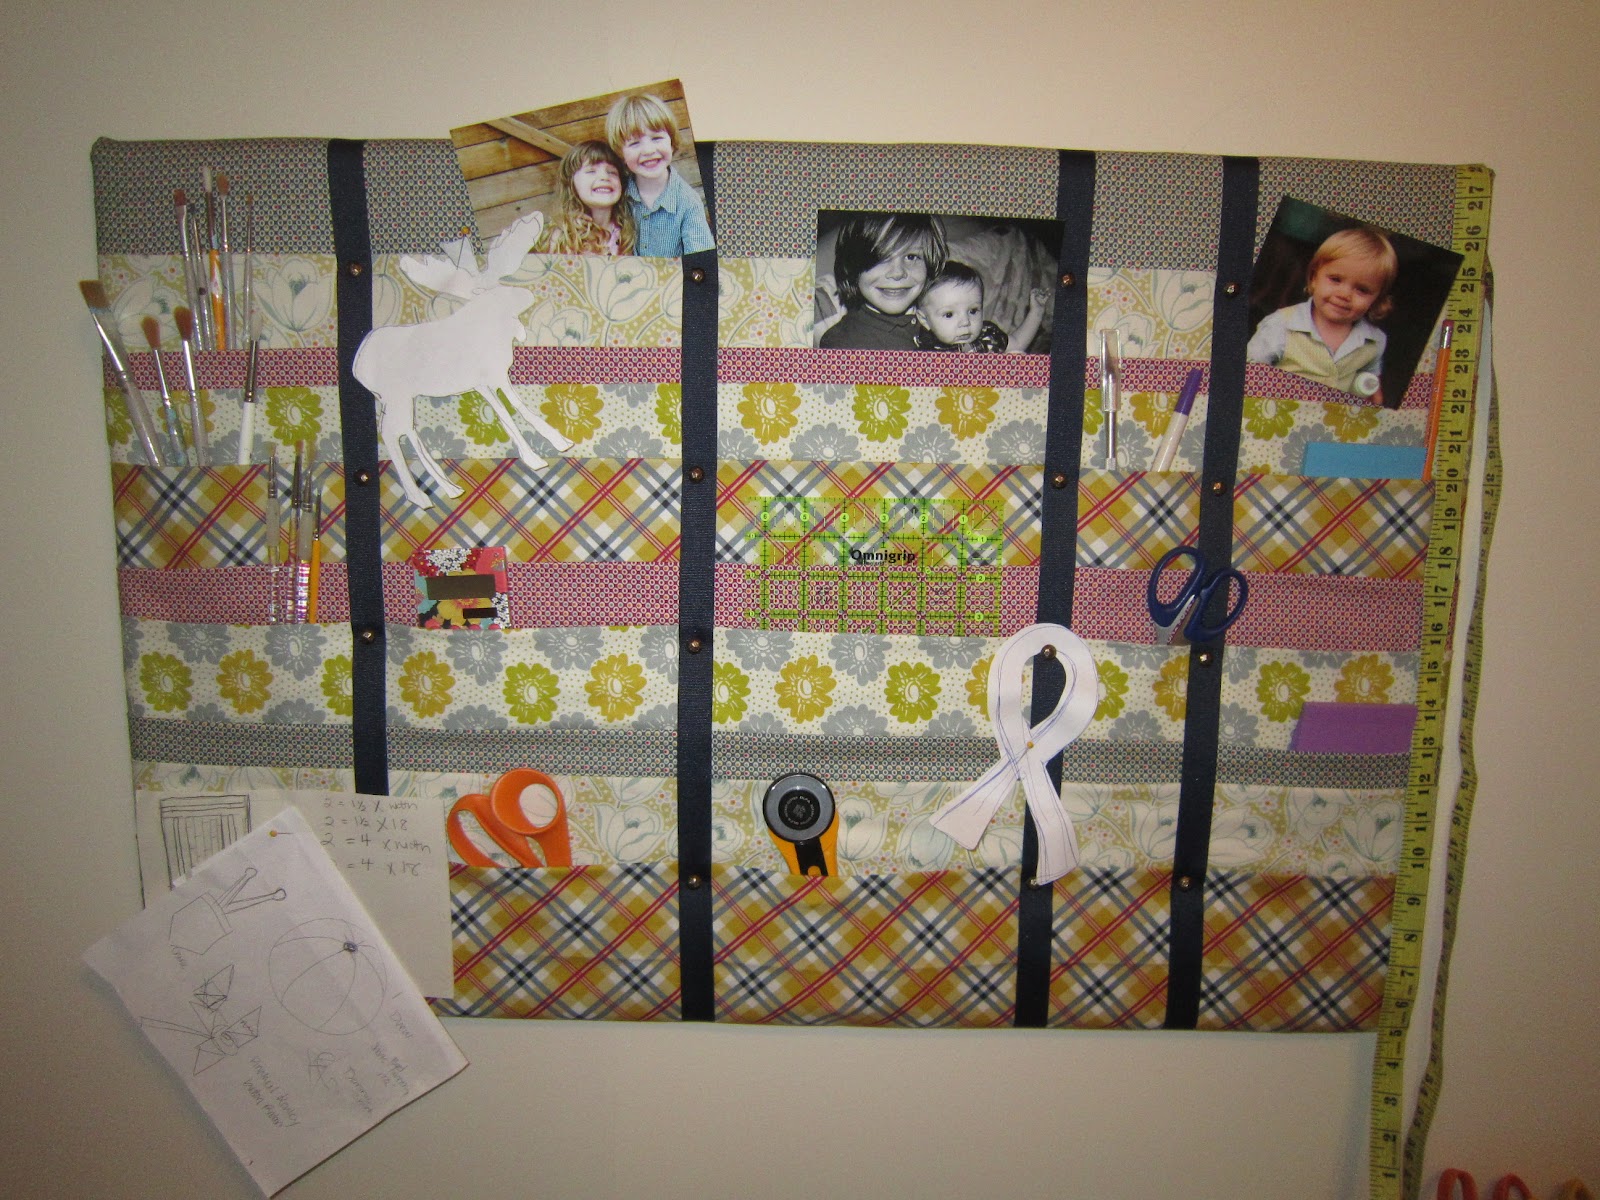
I added navy ribbon and brass upholstery tacks. They were cheap- $2 for a box of 24. I was able to push them in easily with my fingers and they seem very secure. I put in the tacks first and then stapled the ribbon on the back.

Then I accessorized :) my now "inspiration board" with some tools, pictures and my cute Vera Bradley Calculator form my Mama. It serves more form than function but I'm sure it really works.

