Saturday, March 31, 2012

Dr. Seuss Week

I'm definitely behind on posting activities from preschool. 
This is from the end of February/beginning of March.

Dr. Seuss week was very exciting for me and the children in my class. 
I was amazed and impressed at how well they listened to the stories. 
Many of them are very long for two year olds. 
They seem even longer to me when reading them back to back. 
Some of our favorites were The Cat in the Hat, One Fish, Two Fish…, Green Eggs and Ham, 
Oh the Thinks You Can Think, The Foot Book, 
There's a Wocket in my Pocket and Mr. Brown Can Moo, Can You?
This is our Bulletin Board outside our room. 

I think my favorite moment during the week was when one of my funny 
little boys put on a stethoscope from our dress up area and said 
"I'm Dr. Seuss!"  


Free Art 
This is art where the children create whatever they like.


I love these bright paintings. 


They painted, while I read Oh, the Thinks You Can Think.


These are some drawings of The Cat in the Hat. 


Handprint Keepsakes

I don't call these art because the children have little or nothing to do with the final product. 
They put on the eyes but that's about it. Still, the children enjoy seeing the final product and parents love them. I try to throw one into every unit. This one got two! 

Thing 1 and Thing 2 from The Cat in the Hat
I got the idea here.


One Fish, Two Fish, Red Fish, Blue Fish
I've done this for a while so I don't know whom to credit.  
'

This is our version of a "Cat in the Hat" snack. 
Cool whip and red jello! 

Even though this snack is low in fat and sugar, it's not very natural. 
Layered strawberries and yogurt would be much healthier but this was a cheaper option. 
Sometimes we have to make that choice. 

It would also be cute layered in clear cups.


Sunday, February 12, 2012

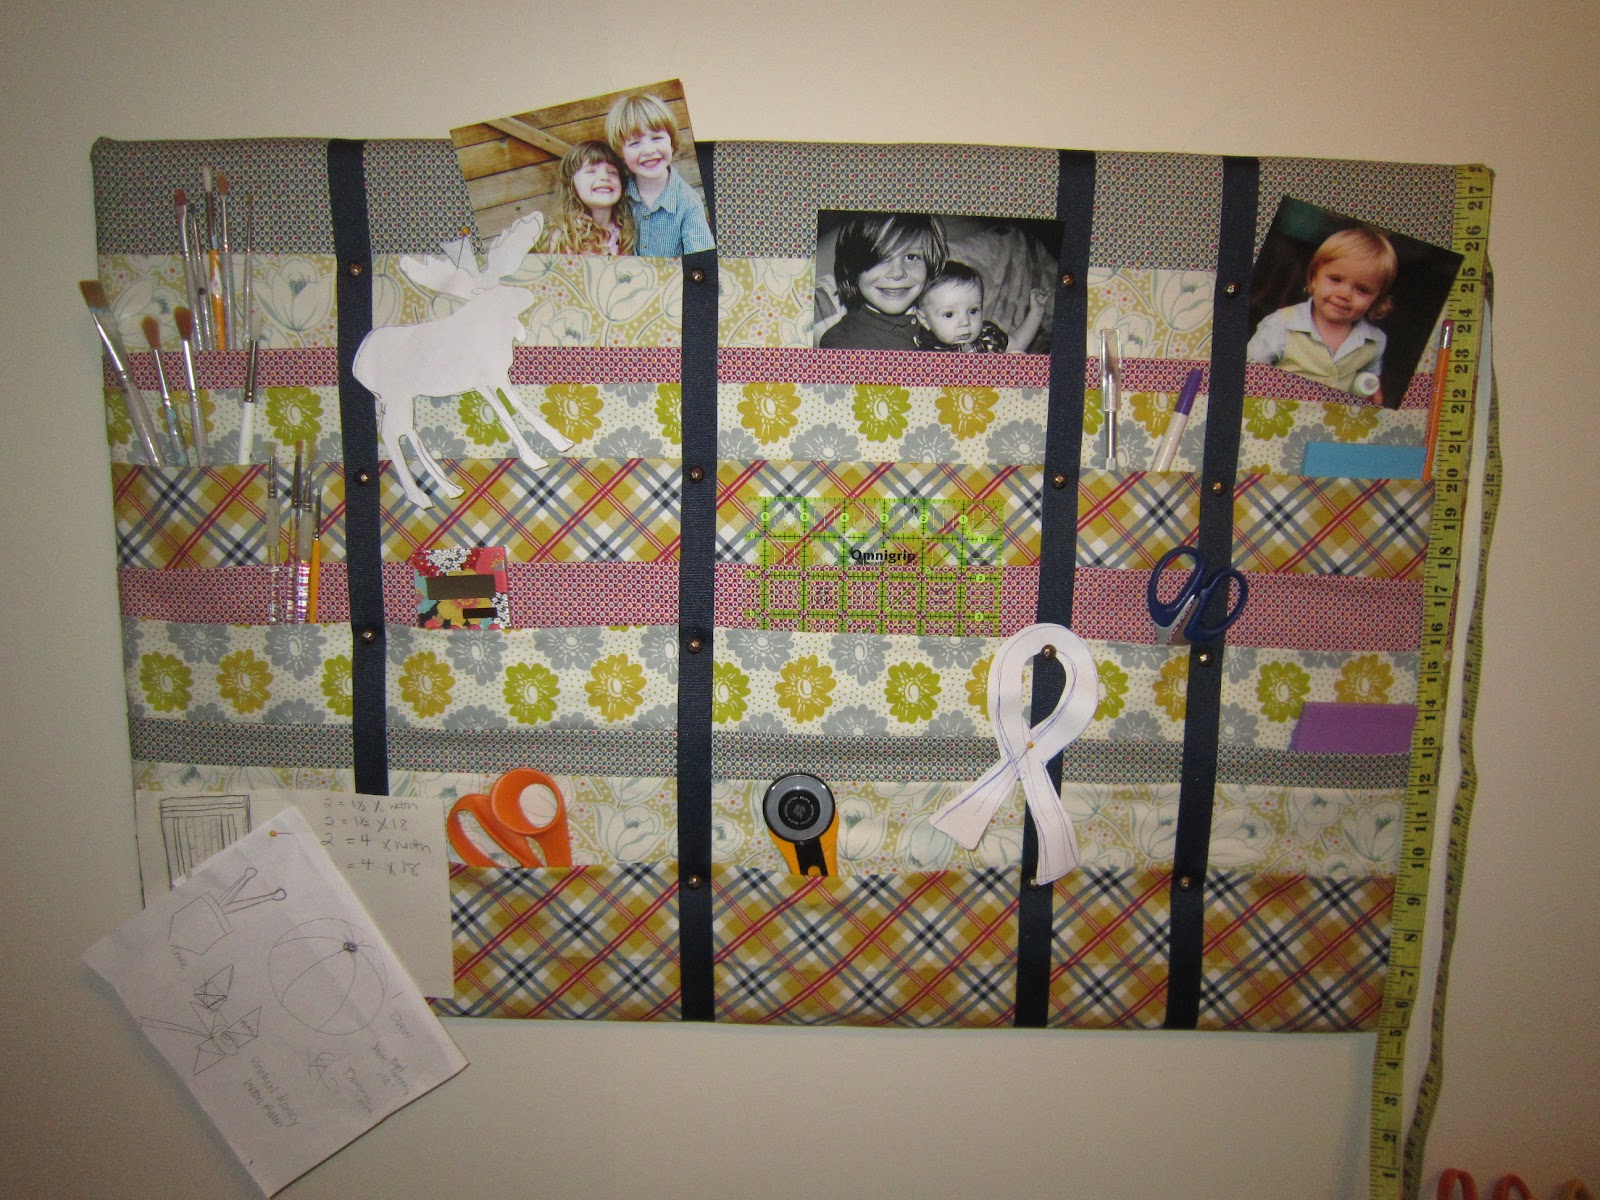
Fabric Wrapped Cork Board

Challenge?  Add texture, color and functionality to an uninspiring blank wall.
Solution?  A cork board!? I bought a plain cork board with intentions of covering it with batting and fabric and using ribbon to hold pictures, notes, etc. 
Not wanting to make the traditional boars with criss cross ribbon I did some experimenting. 
An art teacher once told me that you should avoid your first instinct when designing, drawing and/or creating. With that always in the back of my mind, I try to play around with my material (literally material in this case) and see what I can come up with.
After some trial and error and removing staples with pliers from failed attempts, I came up with this.


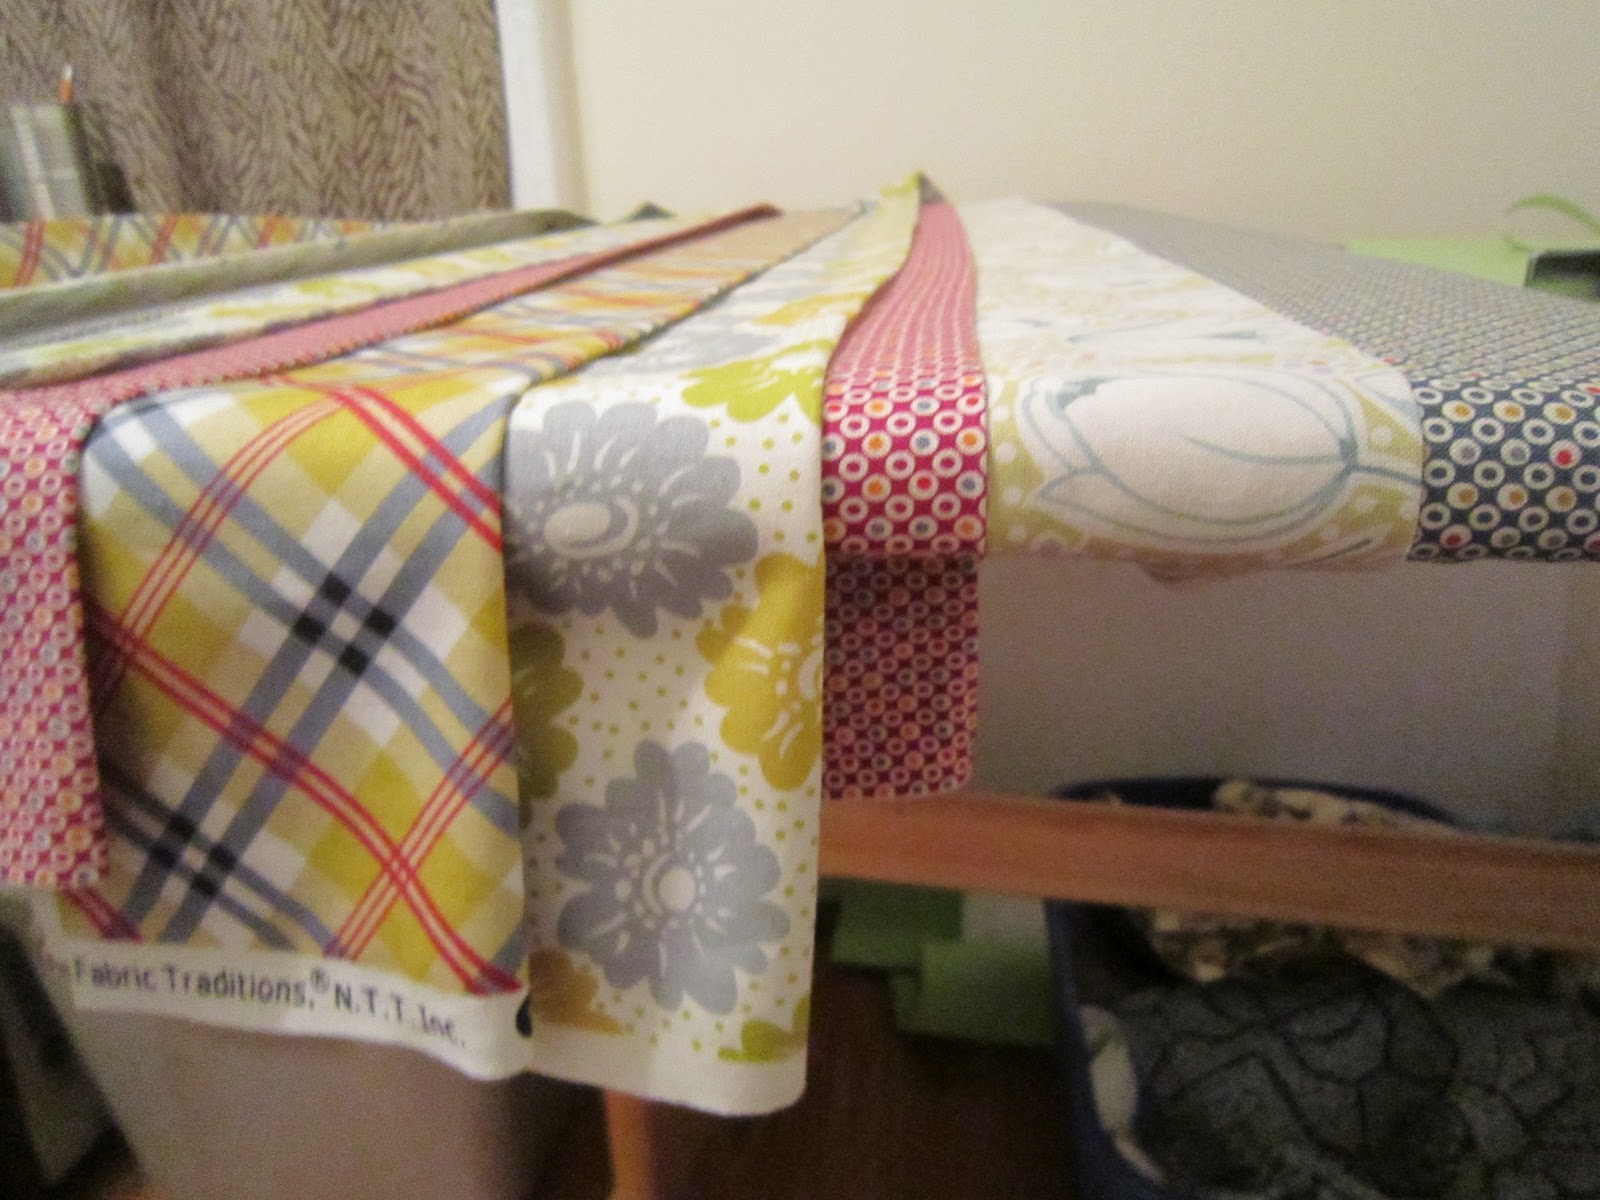
I wraped folded pieces of fabric across the board lengthwise and stapled it to the back. I used very small scrapbooking brads to hold some of the fabric down and create divisions. They are hard to see in the photos and not very functional. 

I'm going to try decorative upholstery nails and maybe add some ribbon. 


First, I covered the board with batting. I stapled the fabric to the board and not the frame as shown here. It was much easier that way.


 Then, I covered it in a solid piece of fabric. I just used a cheap piece of white fabric I had lying around. 

 To create a neat corner, I first folded the corner into the middle and stapled. Then I folded each side in, pulling tightly to create a smooth edge with two neat folds.


Keeping my fabric folded in half, selvage to selvage, I cut multiple strips. I  started with 6 fabrics and cut two pieces of each. I only ended up using 5 different fabrics but it's good to have more than you need. 
I cut various widths, so the finished layers would not be uniform. I cut all the strips 5 or 6 inches wide or more. Whatever size you choose, your finished strip will be half that size.

Scissors would work just as well, but I love my rotary cutter.


Open the fabric and iron it flat. 


Then fold the fabric in half and press to make a long skinny strip. 

Continue until you have a enough strips to cover the board. 


Layer and staple each layer down. 


Staple the ends to the back, tightly.


Pleat the corner.


Add more staples for security and trim up the back.

There you have it. 


I finally finished it. 
I added navy ribbon and brass upholstery tacks. They were cheap- $2 for a box of 24. I was able to push them in easily with my fingers and they seem very secure. I put in the tacks first and then stapled the ribbon on the back. 


Then I accessorized :) my now "inspiration board" with some tools, pictures and my cute Vera Bradley Calculator form my Mama. It serves more form than function but I'm sure it really works.


Sunday, January 22, 2012

Playdoh Creatures and My Favorite Playdoh Recipe

These little creatures were the result of me 
suggesting that we make snowmen with playdoh. 


Making snowmen was not a hit for a few potential reasons:


1) The playdoh was "black." The colors of the month were black and white and we had only made "black" thus far. We ran out of black food coloring and I didn't want to mix other colors and end up with a pile of poo playdoh. That happened. It was weird. So this was more gray than black. I try to use these opportunities to teach my children about colors beyond ROY-G-BIV. Like charcoal gray, army green, navy blue and camel. The best is when they get them confused. Navy green. Sheep. (because sheep and camels are similar :) ?


2) Balls are hard to make. Especially ones of different sizes and stack on top…forget about it. 


3) It was sunny and hadn't snow yet this year. 


So…… since kids are resourceful they made monsters which (not pictured) later became robots when placed on the forearm. 


I thought these little monsters were especially charming.


Oh, it was also someone's birthday. That's nothing new, though.


This is my personal favorite playdoh recipe. Yes, you have to cook it. 
It kind of sucks but cooked playdoh is much nicer and less messy. 

Playdoh

3 cups warm water

Food coloring

3 cups flour

1 Tablespoon Cream of Tarter

3/4 cup salt

3 Tablespoons Vegetable Oil


Combine warm water and food coloring and set aside. 
Combine all ingredients, add water mixture and stir. 
Cook over medium heat. Stir continuously until it is the consistency of mashed potatoes and pulls away from pan. (I tend to cook it longer- until it is a  ball of dough)
Remove from pan and knead. It's very hot so I knead it with a piece of wax paper on top. You could probably wait until it cools but that's boring. 
Store in an air-tight container, once it is completely cooled. 
Keep until it smells bad or look gross.


This is the recipe we use at work. There is no source, so I can't credit anyone. I'm sure there are others that are very similar but this one works so I haven't looked recently to compare it. 

Sunday, January 8, 2012

a turkey baster does what?

I couldn't decide what to write about for my first official post. 
So I thought I'd make it easy on myself and post about something I already had pictures of! 
Here is a fun color-theory activity that I did in my classroom. The only thing I hate is cropping out my kids' cute faces since they're not actually my children :)


I just threw in the term 'color-theory' because it sounded impressive, especially for two year olds. Some of them got it but it was more than just "yellow and blue make green."
 (of course I was so excited when they could tell me that!)


Turkey Basters seemed like an obvious choice since it was November and we were talking about turkeys. While it makes sense to us as adults, there is very little connection between moistening a turkey while it cooks and a plastic toy that makes a huge mess when you squeeze it! 
Save your breath and skip the culinary lesson :)


I put bowls of yellow and blue paint in the sensory table. I mixed in a little water so it would be thin enough to go in and out of the baster. I gave them the basters and showed each of them how to squeeze it before putting it in the paint and then let go. It was tricky but they got the hang of it. 


Paint brushes were requested since we were in fact using paint. (so literal sometimes) Hands are always encouraged and are usually the painting tool of choice. We saved the green (more like teal) paint we made and will use it another day. 

Developmental Areas:
sensory, discovery, science, fine motor, cause and effect and more